Implementing CICD and CloudTruth CLI is easy with this 4 step workflow.
When you’re working with any type of automated installation, you essentially have three ways to perform the action:
- From a CLI via localhost/on your current computer
- From a CLI via a remote computer
- From a pipeline
The typical rule of thumb is to not run anything production-ready locally because no other engineers/developers will have access to your machine to run the code in the same environment. With a remote computer (like a jump box), running CLI commands can be fine, but then you have to manage another environment.
With CICD, at least in GitHub Actions, the environments are pre-configured and ready for you.
In this blog post, you’ll learn how to set up a CICD pipeline in GitHub Actions to install the CloudTruth CLI and list projects as an example command
Prerequisites
To follow along with this blog post, you’ll need:
- A CloudTruth environment that you can get started with for free here.
- A CloudTruth API key, which you can learn how to generate here.
- A GitHub account, which you can sign up for free of charge here.
Building The CICD Pipeline
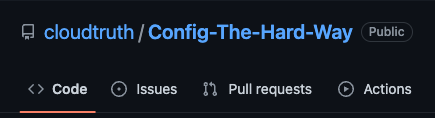
To get started, first open a GitHub repo. For the purposes of this blog post, the Config-The-Hard-Way project will be used, which you can find here.
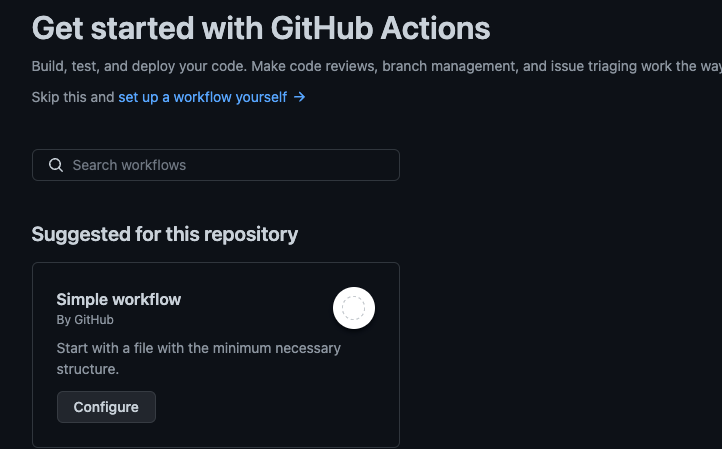
Once your repo is open, click on the Actions button, which you can see in the above screenshot.
Choose the Simple workflow and click the Configure button.
At this point, you’ll see an example pipeline that’s auto-generated via GitHub. Remove the auto-generated YAML code and paste in the following code:
name: CloudTruth CLI Install

on:
  workflow_dispatch:

jobs:
  build:
    runs-on: ubuntu-latest

    steps:
      - uses: actions/checkout@v3

      - name: Install CloudTruth CLI
        run: |
          CLOUDTRUTH_CLI_VERSION=$(curl --silent "https://api.github.com/repos/cloudtruth/cloudtruth-cli/releases/latest" | grep "tag_name" | sed -E 's/.*"([^"]+)".*/1/')
          curl -sLOJ https://github.com/cloudtruth/cloudtruth-cli/releases/download/${CLOUDTRUTH_CLI_VERSION}/cloudtruth_${CLOUDTRUTH_CLI_VERSION}_amd64.deb
          sudo dpkg -i cloudtruth_${CLOUDTRUTH_CLI_VERSION}_amd64.deb

      - name: Set API Key and list projects
        run:  cloudtruth --api-key ${{ secrets.API_KEY }} projects list
Let’s break down what the code above is doing:
- First, you’re naming the pipeline CloudTruth CLI Install
- Next, you’re setting a
workflow_dispatchwhich means you can manually click a button to deploy the pipeline. This is using a Continuous Deployment methodology. - Under
jobs, you’re specifying to run the pipeline on an Ubuntu machine. This machine is actually a container that’s running on the backend and fully managed by GitHub - Under steps, there are three:
- Check out the code in the Git repo to be used on the Ubuntu container
- Install CloudTruth via the Debian/Ubuntu method
- Set the CloudTruth API key and run the
cloudtruth projects listcommand
You’ll notice that there’s an environment variable on line 20 called ${{ secrets.API_KEY }}, which should be set in GitHub.
Setting The API Key
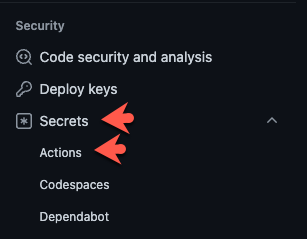
In your GitHub repo, go to settings.
Under Security on the left side, click on Secrets —> Actions.
Create a new repository secret called API_KEY with a value of the API key from your CloudTruth organization that was talked about in the Prerequisites section of this blog post.

Running The CICD and CloudTruth CLI in the Pipeline
Now that your pipeline and API key secret is set up, it’s time to run the pipeline. Because you set it up with a Continuous Deployment methodology, the pipeline will not run automatically via a push/commit to, for example, the main branch. Instead, you’ll have to utilize a Run workflow button inside of GitHub Actions.
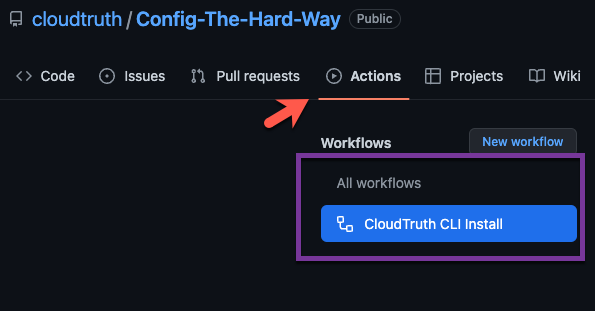
Under the Actions tab, you’ll now see a new pipeline called CloudTruth CLI Install.
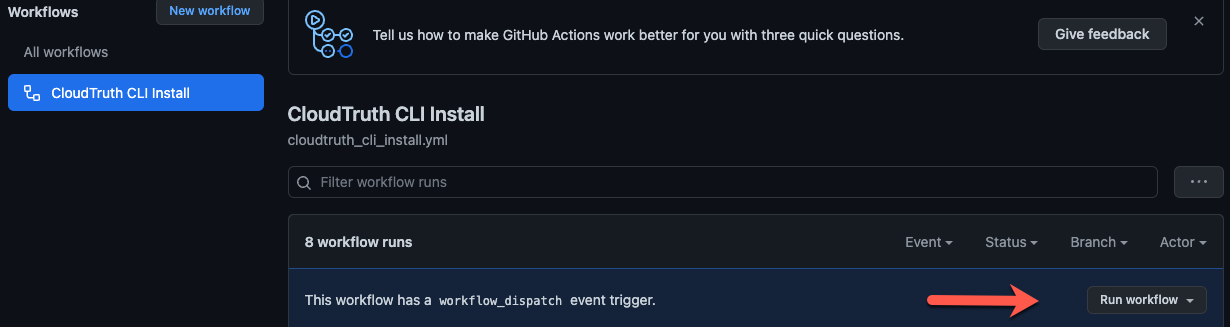
Because there is a workflow_dispatch for this pipeline, you’ll see the Run workflow button. Click the Run workflow button for the CICD pipeline to begin.
Click on the new pipeline and once it’s complete, you’ll see an output with your CloudTruth projects like in the screenshot below.

Congrats! You have successfully set up a new CICD pipeline with the CloudTruth CLI.
Wrapping Up
Not only can the CloudTruth CLI automate any action that you want to perform in CloudTruth, but you can literally install it anywhere. Even on a CICD pipeline! Whether you’re running on Linux, Windows, or macOS, the CloudTruth CLI can automate your workloads so you don’t have to worry about clicking around in a UI.
In this blog post, you learned how to get started with the CloudTruth CLI on a CICD pipeline via GitHub Actions and how you can run commands to list projects.
To get started for free, sign up here.
Join ‘The Pipeline’
Our bite-sized newsletter with DevSecOps industry tips and security alerts to increase pipeline velocity and system security.